

To install the EVE-NG .ova file in VMware, you can follow these steps:
- Download the EVE-NG OVA Image: Download the EVE-NG Community Edition OVA image from this link. Download EVE-NG community OVA.
- Open VMware Workstation: Launch VMware Workstation on your computer.
- Import the OVA Image: Go to File > Open (or press Ctrl+O), and navigate to the location of the downloaded EVE-NG OVA file.
- Select the OVA file and click Open.
- Please take note of the following instructions: Virtual Machine Settings: When using VMware, you will be prompted to import the virtual machine. You may need to agree to the license terms and choose a location for the virtual machine files. Adjust the virtual machine settings, including memory, processors, and network adapters, as required. Enable the virtualized Intel VT-x/EPT or AMD-V/RVI option for the processors and use NAT or Bridged for the network adapter.
- Start the Virtual Machine: Once the import is complete, start the virtual machine by selecting it and clicking on Start or Power on.
- Initial Configuration: EVE-NG will boot up and may present an initial setup wizard where you can configure settings like the hostname, domain name, IP address, and root password.
- Access EVE-NG: After the initial setup, you can access the EVE-NG web interface by entering the IP address you configured into a web browser.
Quick Tip
Once you’ve got the EVE-NG OVA downloaded and installed, here’s a quick tip to get everything up and running smoothly:
- Run the command on cli:
>> apt updateThen, execute the next command. When it asks to confirm, just type “Y”:
>> apt upgradeNOTE — If you’re upgrading from an older version of EVE Community, you might see some prompts during the installation:
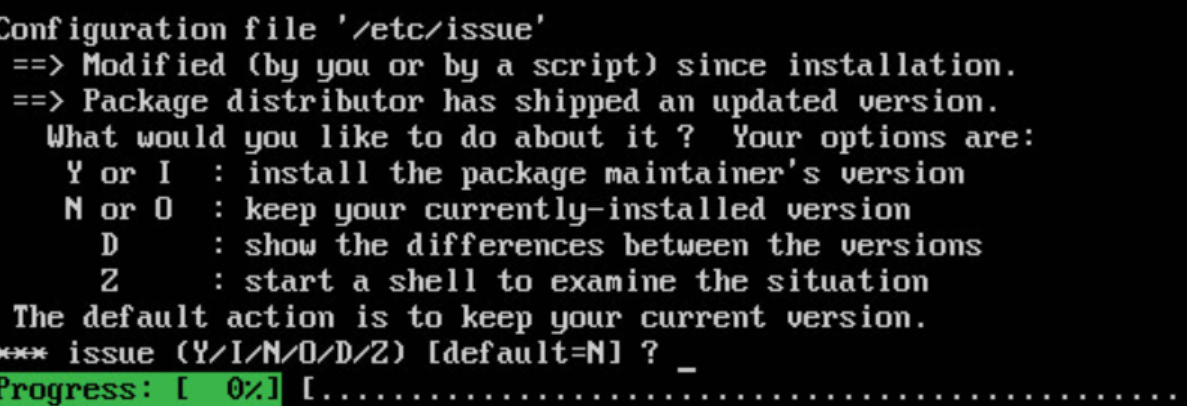
For the screenshot above, just answer “N”.
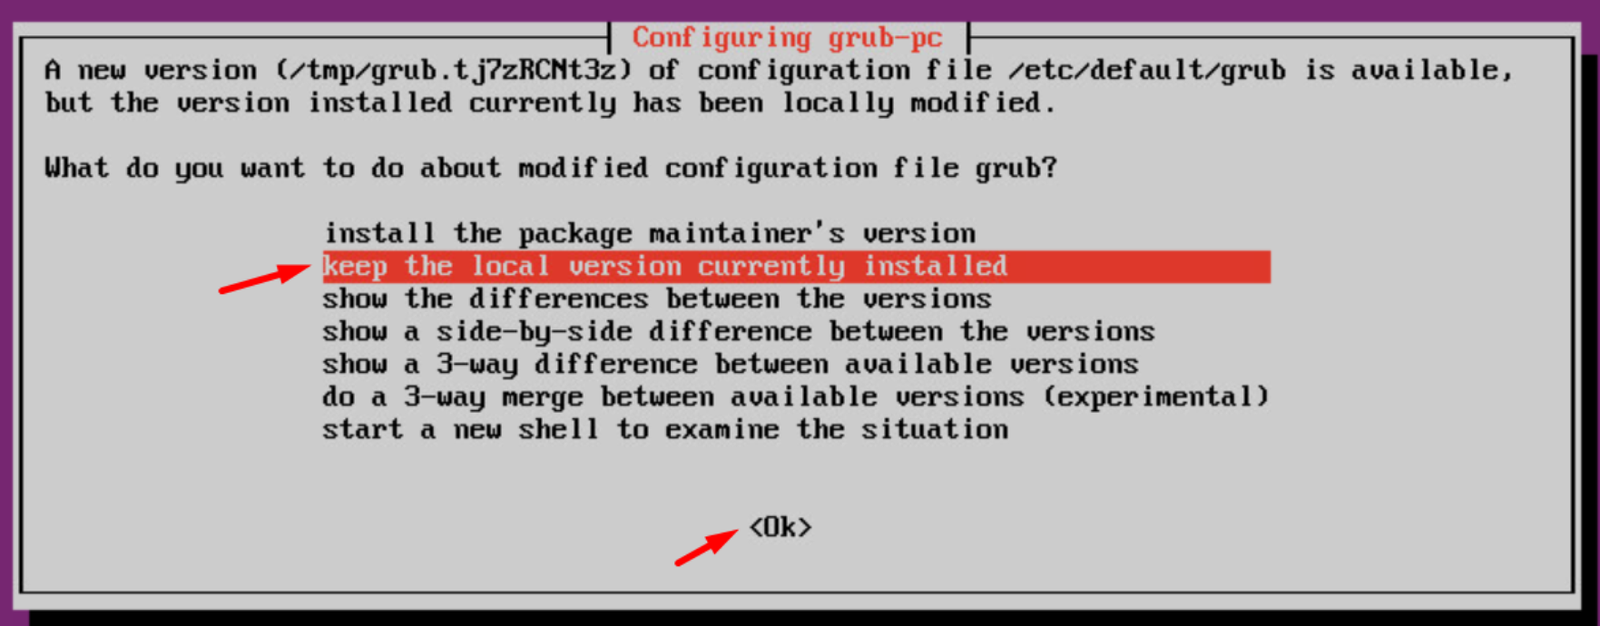
And if you get a question about “grub,” choose: Keep the local version currently installed.
Once everything’s done, give your EVE a fresh start with a reboot:
>> rebootNote —
Before starting the installation, remember to check the system requirements and ensure your hardware is compatible with EVE-NG. This documentation is a good resource for troubleshooting if you need further assistance.